Day 17 - Docker Project for DevOps Engineers
Hey there! 👋
I'm Tushar Ranjan, a DevOps Engineer passionate. Currently, on a learning adventure, I'm here to share my journey and Blogs in the world of cloud and DevOps.
🛠️ My focus? Making sense of AWS services, improving CI/CD, and diving into infrastructure as code. Whether you're fellow interns or curious enthusiasts, let's grow together in the vibrant DevOps space.
🌐 Connect with me for friendly chats, shared experiences, and learning moments. Here's to embracing the learning curve and thriving in the exciting world of AWS DevOps Technology!
Today's challenge is an exciting one because we're diving into a Docker project. Are you ready? Let's explore Docker, Dockerfiles, and their practical application through a step-by-step example.
Understanding Dockerfile: Building Docker Images
A Dockerfile is a text file that contains a set of instructions for building a Docker image. The Dockerfile describes how to create a custom Docker image that includes all the necessary dependencies and configurations for running an application. The Dockerfile contains commands that are executed in sequence to build the image. Each command in the Dockerfile creates a new layer in the image.
Dockerfile is used as the source code to build Docker images, and it is highly configurable, allowing developers to customize the environment for their application. Dockerfile is typically used with the docker build command, which takes the Dockerfile as input and produces a Docker image as output. Once the image is built, it can be used to start containers that run the application.
Anatomy of a Dockerfile
Here's a breakdown of common Dockerfile instructions:
FROM: Specifies the base image for your application, such as
node:14for Node.js applications.RUN: Executes commands during the build process, like installing dependencies (
npm install).COPY: Copies files from your host machine to the image, essential for adding application code (
COPY . .).ENV: Sets environment variables within the container.
EXPOSE: Declares which ports should be exposed by the container (
EXPOSE 3000).CMD: Defines the command to run when the container starts (
CMD ["npm", "start"]).
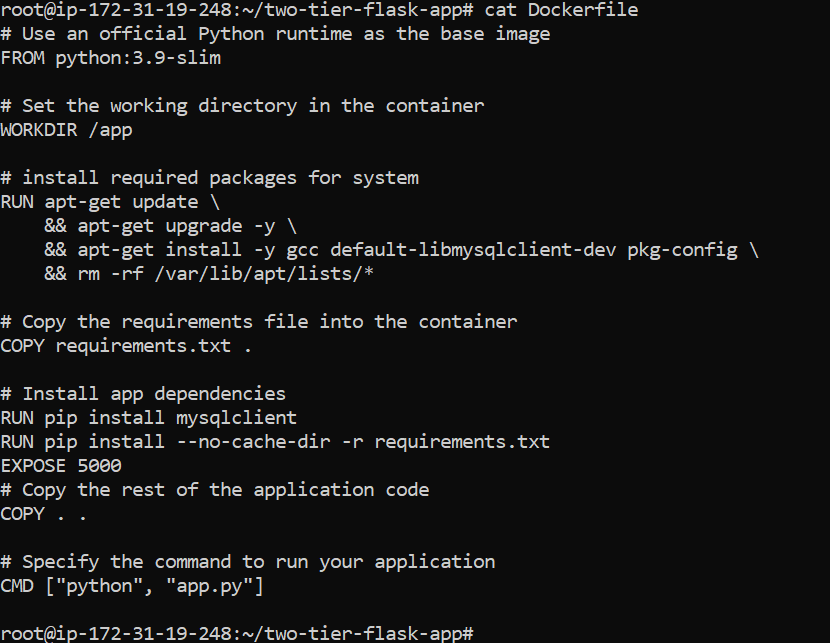
Here’s an example of a simple Dockerfile that sets up a flask-app:
Task: Creating and Using the Docker Image
Let's apply our Docker knowledge to a practical example using a Node.js application.
Project: Flask App
Clone the Repository:
root@ip-172-31-19-248:~/ git clone https://github.com/TusharRanjan09/two-tier-flask-app.gitCreate or Modify the Dockerfile. Here's an example based on the flask-app.
 # Use an official Python runtime as the base image
 FROM python:3.9-slim

 # Set the working directory in the container
 WORKDIR /app

 # install required packages for system
 RUN apt-get update \
     && apt-get upgrade -y \
     && apt-get install -y gcc default-libmysqlclient-dev pkg-config \
     && rm -rf /var/lib/apt/lists/*

 # Copy the requirements file into the container
 COPY requirements.txt .

 # Install app dependencies
 RUN pip install mysqlclient
 RUN pip install --no-cache-dir -r requirements.txt
 EXPOSE 5000
 # Copy the rest of the application code
 COPY . .

 # Specify the command to run your application
 CMD ["python", "app.py"]
Build the Docker Image:
ubuntu@ip-172-31-19-248:~/two-tier-flask-app$ docker build -t flask-app:latest .Run the Docker Container:
ubuntu@ip-172-31-19-248:~/two-tier-flask-app$ docker run -itd -p 5000:5000 flask-app:latestVerify the Application: Open your web browser and go to
http://<your_instance_ip>:5000to ensure your flask application is running correctly.Push the Docker Image to Docker Hub:
 ubuntu@ip-172-31-19-248:~/two-tier-flask-app$ docker tag flask-app:latest tusharranjan09/flask-app:latest
 docker push tusharranjan09/flask-app
Ensure you're logged into Docker Hub (
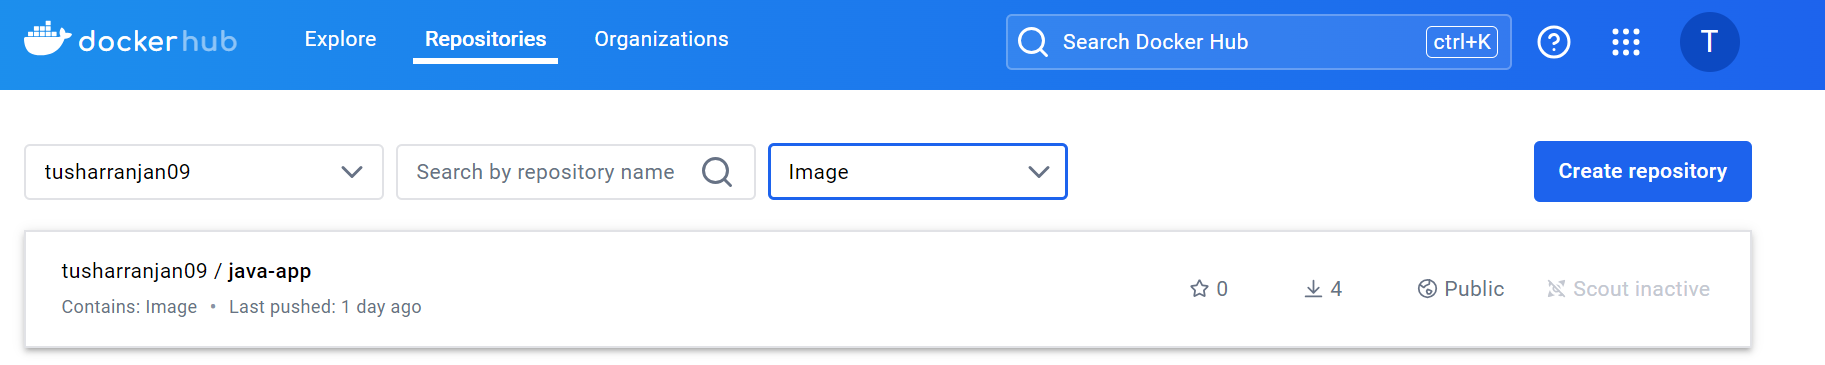
docker login) before pushing.Below is the example of a java-app image pushed to Docker Hub.
Conclusion
Congratulations! 🎉 You've successfully built and deployed a Dockerized flask-app application. By leveraging Docker and Dockerfiles, you've created a portable, reproducible environment for your application, making it easier to share and deploy across different platforms and environments.
~ Tushar Ranjan🙂


