DAY 19 - Docker Volume And Docker Network
Hey there! 👋
I'm Tushar Ranjan, a DevOps Engineer passionate. Currently, on a learning adventure, I'm here to share my journey and Blogs in the world of cloud and DevOps.
🛠️ My focus? Making sense of AWS services, improving CI/CD, and diving into infrastructure as code. Whether you're fellow interns or curious enthusiasts, let's grow together in the vibrant DevOps space.
🌐 Connect with me for friendly chats, shared experiences, and learning moments. Here's to embracing the learning curve and thriving in the exciting world of AWS DevOps Technology!
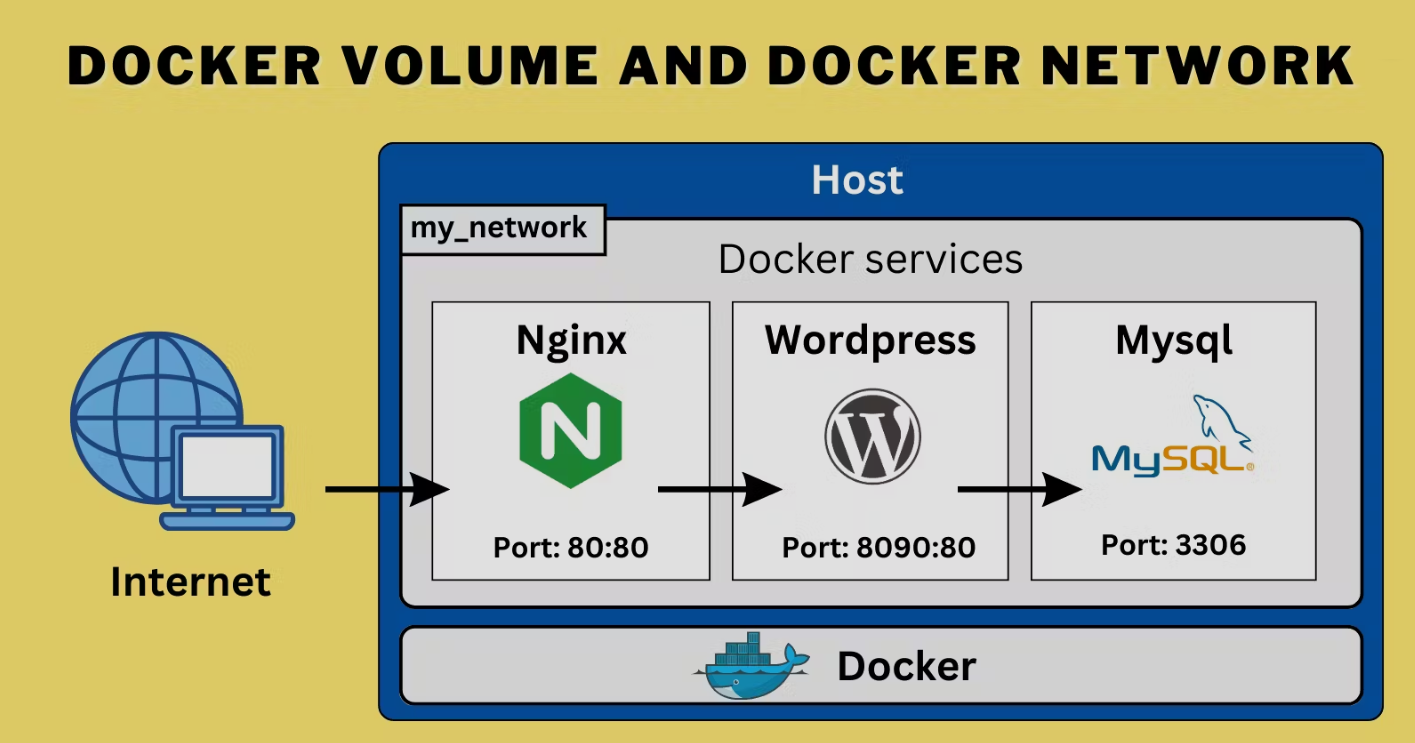
Welcome to Day 19 of our DevOps journey! So far, you've learned how to create a docker-compose.yml file and push it to the repository. Let's move forward and dive deeper into other Docker Compose concepts. आज थोड़ी पढ़ाई करते हैं on Docker Volumes and Docker Networks 😃
What is Docker Volume?
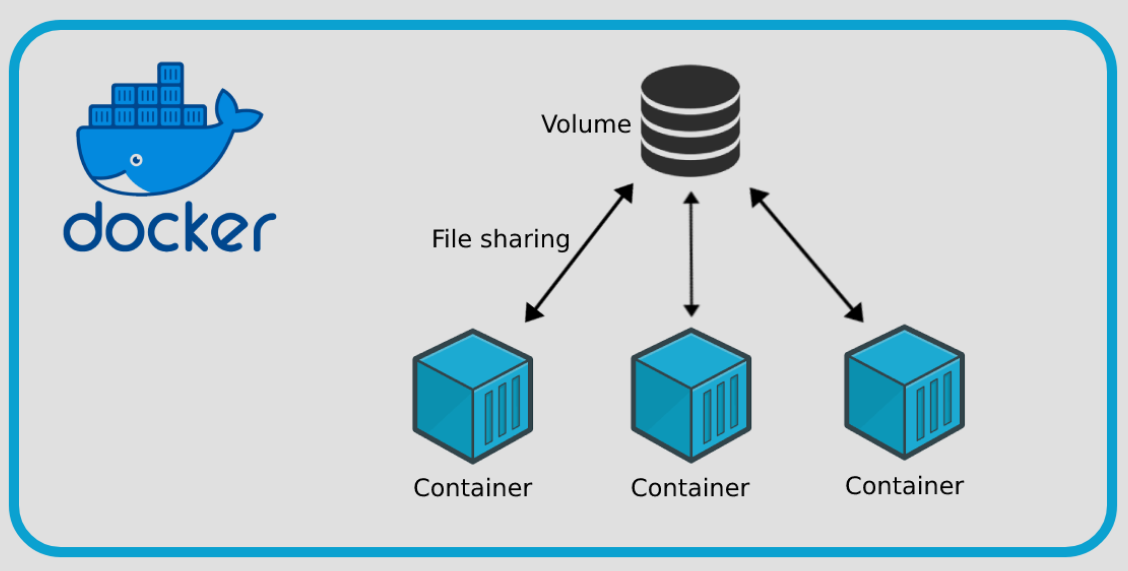
Docker Volume is a feature in the Docker containerization platform that enables data to persist between containers and to be shared among them. When you create a Docker container, any data generated or used by the container is stored inside the container itself. However, when the container is deleted, the data is also deleted.
To solve this problem, Docker Volume was introduced. It allows you to store the data in a separate location outside the container, making it independent of the container’s lifecycle. This way, even if the container is deleted, the data remains accessible and can be used by other containers as well.
Docker Volume can be used to manage the storage requirements of your containers. It enables you to easily manage the data for your applications, such as databases, log files, and other persistent data. Docker Volume can also be used to store configuration files, templates, and other files required by the container.
Why Volumes over Bind Mounts?
Ease of Management: Volumes can be managed using Docker CLI commands or the Docker API.
Portability: Volumes work on both Linux and Windows containers.
Safety: Volumes can be more safely shared among multiple containers.
Advanced Features: Volume drivers let you store volumes on remote hosts or cloud providers, encrypt contents, or add other functionality.
Performance: Volumes on Docker Desktop have much higher performance than bind mounts from Mac and Windows hosts.
Commands related to Docker Volumes:
Create a volume:
ubuntu@ip-172-31-19-248:~$ sudo docker volume create my-volList volumes:
ubuntu@ip-172-31-19-248:~$ sudo docker volume ls
Inspect a volume:
ubuntu@ip-172-31-19-248:~$ sudo docker volume inspect my-volRemove a volume:
ubuntu@ip-172-31-19-248:~$ sudo docker volume rm my-volAttach a Volume to a Container:
root@ip-172-31-19-248:~/volume/mysql-data docker run -d -v $(pwd):/var/lib/mysql -e MYSQL_ROOT_PASSWORD=test@123 mysql:5.7

Detach a Volume from a Container:
  ubuntu@ip-172-31-19-248:~$ sudo docker container stop imagename
  ubuntu@ip-172-31-19-248:~$ sudo docker container rm imagename
What is Docker Network?
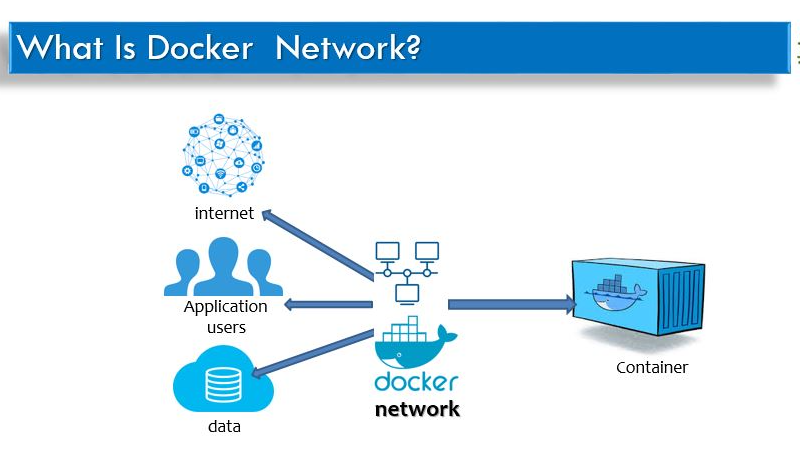
Docker Network is a feature in the Docker containerization platform that enables communication between containers running on the same host or across multiple hosts. It provides a virtual network that connects containers to each other and to external networks, allowing them to communicate securely and efficiently.
When you create a Docker container, it is isolated from the host system and other containers by default. To enable communication between containers, you can create a Docker network and attach containers to it. Once the containers are attached to the same network, they can communicate with each other by their container names or IP addresses.
Types of Docker Network Drivers:
Bridge: Default network driver allowing communication between containers on the same host.
Host: Containers use the host network stack.
Overlay: Enables communication between containers on different hosts.
Macvlan: Containers have a unique MAC address and appear as physical devices on the network.
None: Disables networking for the container.
Commands related to Docker Network:
Create a Network:
ubuntu@ip-172-31-19-248:~$ sudo docker network create mynetworkList Networks:
ubuntu@ip-172-31-19-248:~$ sudo docker network ls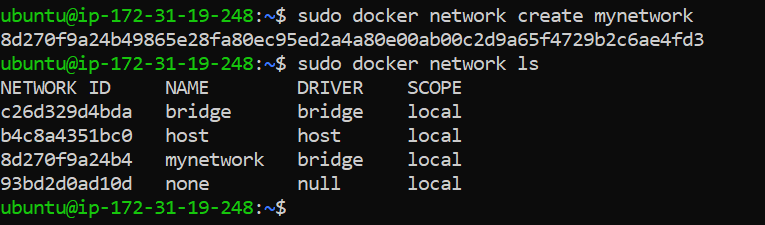
Inspect a Network:
ubuntu@ip-172-31-19-248:~$ sudo docker network inspect mynetworkConnect a Container to a Network:
ubuntu@ip-172-31-19-248:~$ sudo docker run --network mynetwork myimageDisconnect a Container from a Network:
ubuntu@ip-172-31-19-248:~$ sudo docker network disconnect mynetwork mycontainerRemove a Network:
ubuntu@ip-172-31-19-248:~$ sudo docker network rm mynetwork
Tasks
Task 1: Create a Multi-Container Docker Compose File
Create a multi-container docker-compose.yml file that will bring up and bring down containers in a single shot. For example, create an application container and a database container.
docker-compose.yml:
yamlCopy codeversion: '3.3'
services:
  web:
    image: nginx:latest
    ports:
      - "80:80"
    depends_on:
      - db
  db:
    image: mysql:latest
    ports:
      - "3306:3306"
    environment:
      - "MYSQL_ROOT_PASSWORD=test@123"
Commands:
Start containers:
ubuntu@ip-172-31-19-248:~$ sudo docker-compose up -dScale containers:
ubuntu@ip-172-31-19-248:~$ sudo docker-compose up --scale web=4Scale down containers:
ubuntu@ip-172-31-19-248:~$ sudo docker-compose up --scale web=2Stop and remove containers:
ubuntu@ip-172-31-19-248:~$ sudo docker-compose down
Task 2: Using Docker Volumes and Named Volumes
Learn how to use Docker Volumes and Named Volumes to share files and directories between multiple containers.
Steps:
Create and Start Containers with Shared Volume:
 ubuntu@ip-172-31-19-248:~$ sudo docker run -d --name container1 --mount source=shared-data,target=/app busybox
 ubuntu@ip-172-31-19-248:~$ sudo docker run -d --name container2 --mount source=shared-data,target=/app busybox
Verify Data in Containers:
 ubuntu@ip-172-31-19-248:~$ sudo docker exec container1 sh -c 'echo "Hello from container1" > /app/data.txt'
 ubuntu@ip-172-31-19-248:~$ sudo docker exec container2 cat /app/data.txt
List and Remove Volumes:
 ubuntu@ip-172-31-19-248:~$ sudo docker volume ls
 ubuntu@ip-172-31-19-248:~$ sudo docker volume rm shared-data
By completing these tasks, you'll gain a deeper understanding of Docker Volumes and Networks, enhancing your ability to manage data and container communication efficiently.
Docker Volumes and Networks are crucial for managing data and container communication in multi-container applications. Mastering these concepts will make your Docker management more efficient and robust. Keep experimenting and learning! 🚀
~ Tushar Ranjan🙂


