Day 40 - AWS EC2 Automation ☁
Hey there! 👋
I'm Tushar Ranjan, a DevOps Engineer passionate. Currently, on a learning adventure, I'm here to share my journey and Blogs in the world of cloud and DevOps.
🛠️ My focus? Making sense of AWS services, improving CI/CD, and diving into infrastructure as code. Whether you're fellow interns or curious enthusiasts, let's grow together in the vibrant DevOps space.
🌐 Connect with me for friendly chats, shared experiences, and learning moments. Here's to embracing the learning curve and thriving in the exciting world of AWS DevOps Technology!
Welcome back to the #90DaysOfDevOpsChallenge! Today, we dive into automating tasks in Amazon EC2, a key component for creating scalable, reliable, and cost-effective cloud infrastructure. Leveraging automation in EC2 allows you to efficiently manage your instances, ensuring consistency and scalability. Let’s explore how to use launch templates and auto-scaling groups to achieve this.
Introduction to EC2 Automation
Amazon Elastic Compute Cloud (Amazon EC2) is a web service that provides secure, resizable compute capacity in the cloud. It’s designed to make web-scale cloud computing easier for developers. By automating EC2, you can streamline instance management, ensuring efficiency and consistency while reducing manual intervention.
Launch Templates in EC2
A launch template is a feature provided by Amazon EC2 that allows you to create reusable configurations for launching instances. It includes parameters like the AMI ID, instance type, key pair, security groups, and network configurations. Launch templates support versioning, allowing you to track changes over time and use different versions as needed.
Benefits of Launch Templates:
Consistency: Ensure uniform configuration across instances.
Efficiency: Save time by reusing templates for similar instances.
Version Control: Track changes and roll back to previous versions if needed.
Creating a Launch Template and Launching Instances
Step-by-Step Guide:
Create a Launch Template:
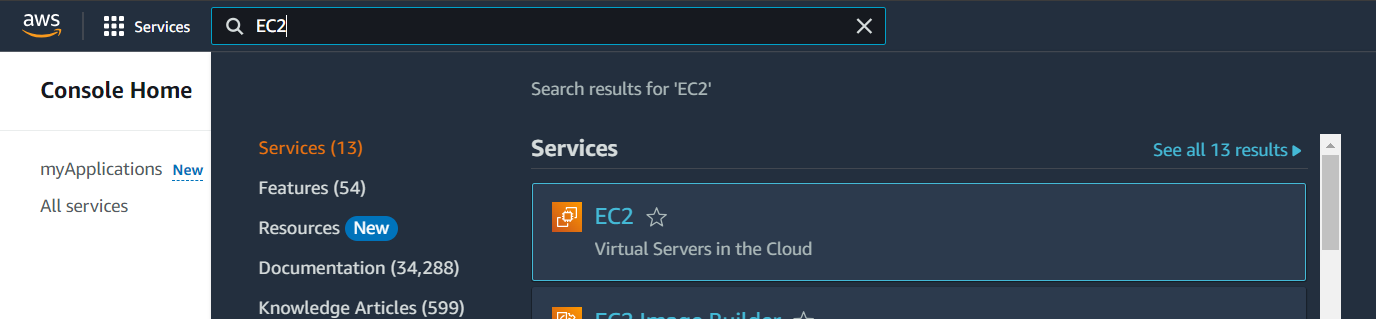
Login to the AWS Console and search for "EC2".
In the left navigation pane, choose Launch Templates.

Click on Create launch template.

Enter a name (e.g.,
DockerJenkinsTemplate) and a description for the template.
For Amazon Machine Image (AMI), choose Ubuntu.

For Instance type, choose t2.micro.
Select or create a security group.
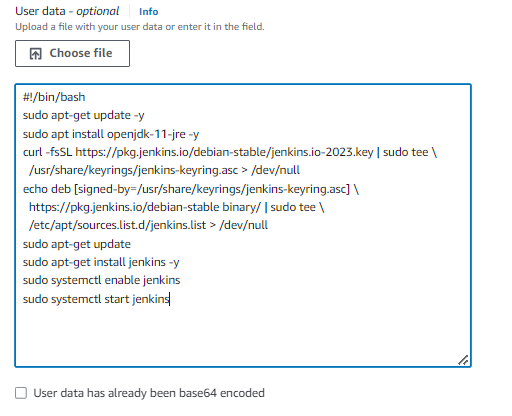
In the Advanced Details section, paste the user data script for installing Jenkins and Docker.
Here's an example of a user data script for setting up Jenkins and Docker:
#!/bin/bash
sudo apt-get update -y
sudo apt install openjdk-11-jre -y
curl -fsSL https://pkg.jenkins.io/debian-stable/jenkins.io-2023.key | sudo tee \
  /usr/share/keyrings/jenkins-keyring.asc > /dev/null
echo deb [signed-by=/usr/share/keyrings/jenkins-keyring.asc] \
  https://pkg.jenkins.io/debian-stable binary/ | sudo tee \
  /etc/apt/sources.list.d/jenkins.list > /dev/null
sudo apt-get update
sudo apt-get install jenkins -y
sudo systemctl enable jenkins
sudo systemctl start jenkins
sudo apt-get update
sudo apt-get install docker.io -y
sudo systemctl start docker
Click Create launch template.

Launch Instances Using the Launch Template:
In the Amazon EC2 console, choose Launch instance from template.
Select the launch template you created.

Specify the number of instances you want to launch (e.g., 3).
Configure other settings such as VPC, subnet, and security group as desired.

Choose Launch instances.

Verify that the instances are running in the Instances section.

Creating an Auto Scaling Group
An Auto Scaling group (ASG) is a collection of EC2 instances that are treated as a logical unit for automatic scaling and management. ASGs automatically adjust the number of instances based on demand, ensuring your application maintains optimal performance and cost-efficiency.
Steps to Create an Auto Scaling Group:
Navigate to Auto Scaling Groups:
In the left navigation pane, choose Auto Scaling Groups.
Click Create Auto Scaling group.


Configure the Auto Scaling Group:
Enter a name (e.g.,
DockerJenkinsScaling).Choose the launch template created earlier.
Specify the version (default to the latest version).
Configure Network and Load Balancer:

Select the VPC and subnets for the instances.
Attach a new load balancer if required.
Create a target group for the load balancer.


Set Group Size and Scaling Policies:
Desired capacity: 3
Minimum capacity: 1
Maximum capacity: 5
Configure scaling policies based on metrics such as CPU utilization.

Finalize and Create the Auto Scaling Group:
Add notifications and tags if needed.
Review the configuration.
Click Create Auto Scaling group.


When the utilization increases or decreases, the instances are scaled up or down automatically based on the defined criteria.
Conclusion
In conclusion, automating your EC2 instance management using launch templates and auto-scaling groups enhances efficiency, consistency, and scalability. Launch templates allow you to create reusable configurations, ensuring uniform instance setups. Auto Scaling groups dynamically adjust the number of instances based on demand, maintaining optimal performance and cost-efficiency.
By following the steps outlined in this blog, you can automate the deployment and management of your EC2 instances, making your cloud infrastructure more resilient and responsive to changing workloads.
Thank you for following along! I hope you found this guide on AWS EC2 automation helpful. Stay tuned for more DevOps insights and challenges!
Happy automating! 😍✨


