Day 58 - Ansible Project 🔥

Hey there! 👋
I'm Tushar Ranjan, a DevOps Engineer passionate. Currently, on a learning adventure, I'm here to share my journey and Blogs in the world of cloud and DevOps.
🛠️ My focus? Making sense of AWS services, improving CI/CD, and diving into infrastructure as code. Whether you're fellow interns or curious enthusiasts, let's grow together in the vibrant DevOps space.
🌐 Connect with me for friendly chats, shared experiences, and learning moments. Here's to embracing the learning curve and thriving in the exciting world of AWS DevOps Technology!
Welcome back to another exciting day of DevOps learning! In this blog, we'll build on our knowledge of Ansible by creating a practical project to deploy a simple web app. Ansible's power to automate infrastructure makes it a key tool in configuration management, and today we’ll demonstrate that by deploying a website on multiple EC2 instances using an Ansible Playbook.
By the end of this tutorial, you’ll have a clear understanding of how to:
Set up EC2 instances.
Install Ansible on the master node.
Configure SSH access between the master and child nodes.
Write an Ansible Playbook to install Nginx and deploy a static website.
Task Overview
Create 3 EC2 instances and configure them with the same key pair.
Install Ansible on the host (master) server.
Set up SSH access between the Ansible host and other servers.
Create an Ansible Playbook to install Nginx and deploy a sample website.
Step 1: Create EC2 Instances
To begin, spin up 3 EC2 instances on AWS. One will act as the Ansible master (controller), and the other two as target nodes (child servers).
Choose the same key pair for all instances to ensure secure access from the Ansible host.
Ensure that all instances are in the same security group for seamless communication.
Step 2: Install Ansible on the Master Node
Once the EC2 instances are running, SSH into the Ansible master node to install Ansible.
# Update the repository
sudo apt update

# Install Ansible
sudo apt install ansible
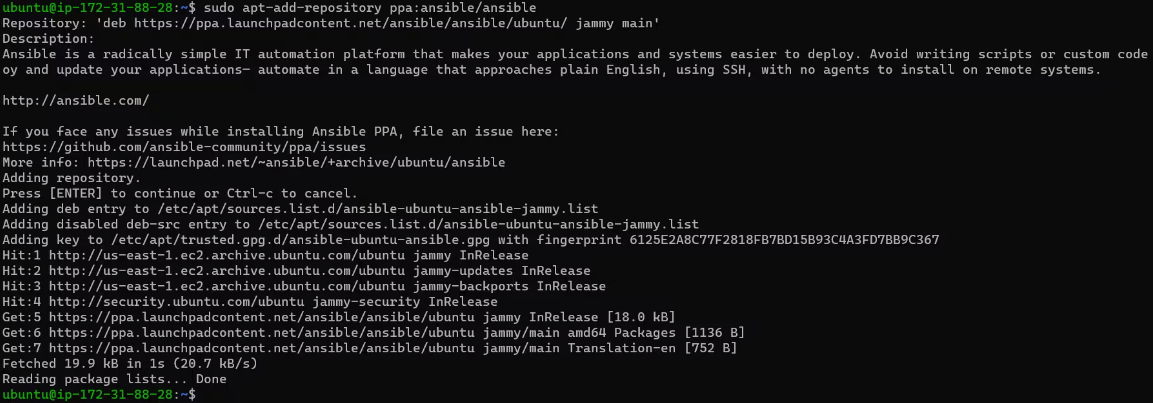
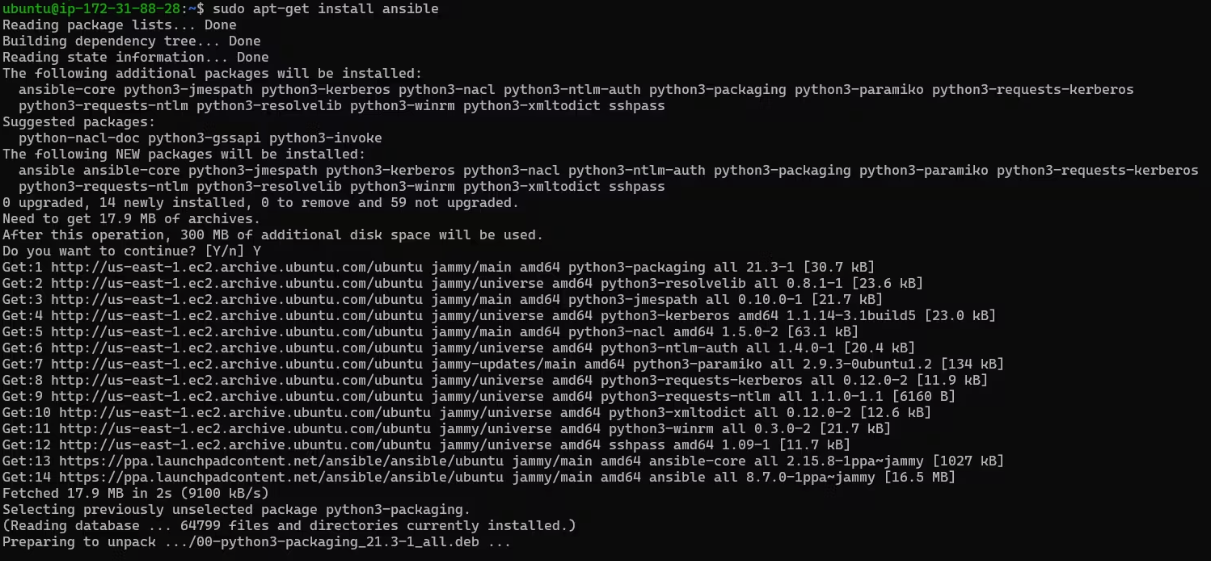
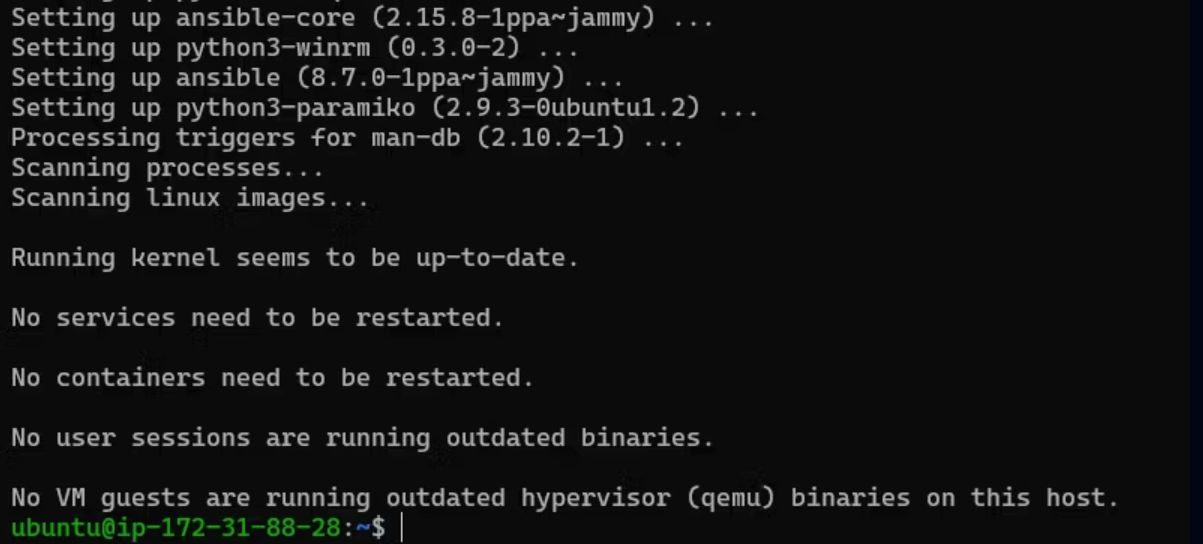
You can verify the Ansible installation by checking the version:
ansible --version

Step 3: Configure SSH Access
To allow the Ansible master to communicate with the child nodes, you need to copy the private key to the Ansible host and configure the inventory file.
Copy the Key:
# Copy the private key to the Ansible host
sudo scp -i "<pem_key>" <pem_key_path> ubuntu@<Ansible_master_IP>:/home/ubuntu/.ssh/

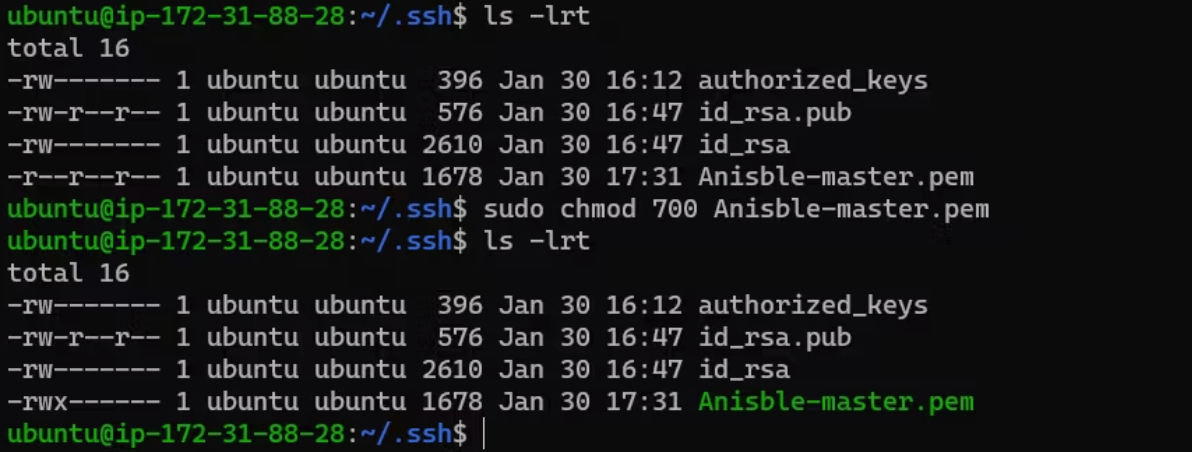
Set the correct permissions for the private key:
sudo chmod 700 /home/ubuntu/.ssh/<pem_key>.pem
Step 4: Configure the Inventory File
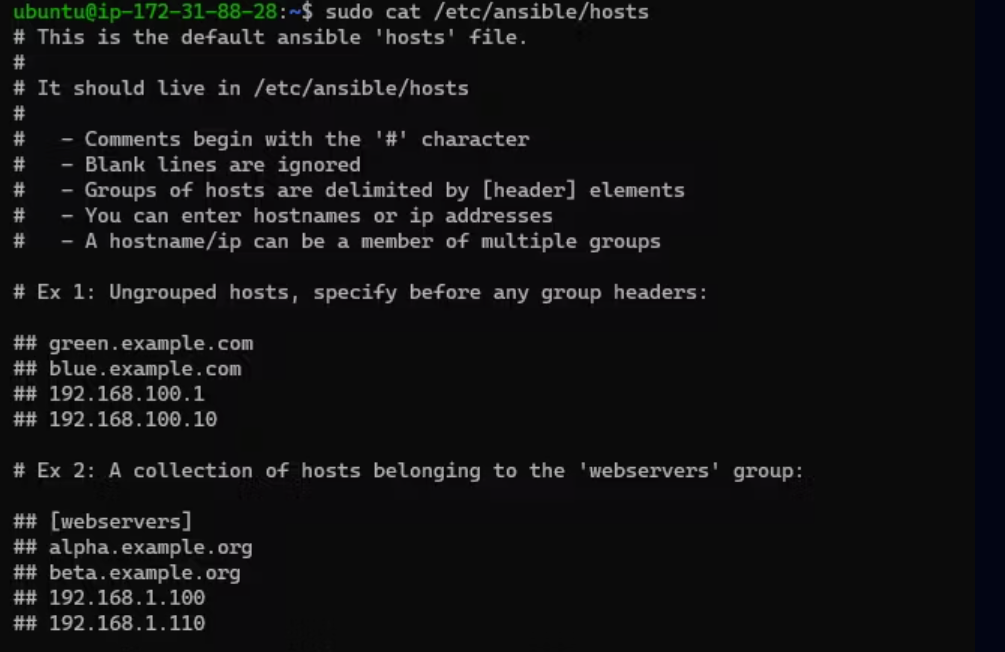
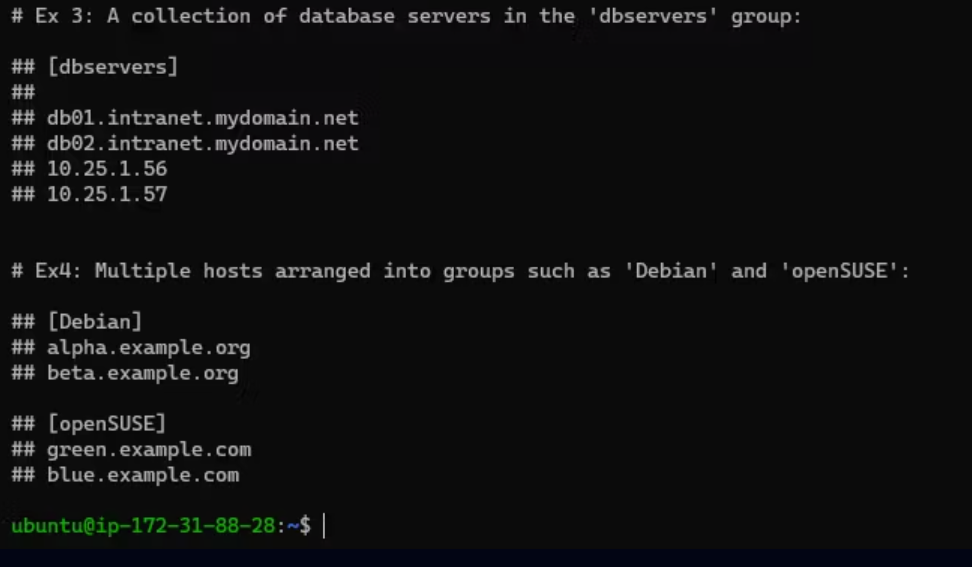
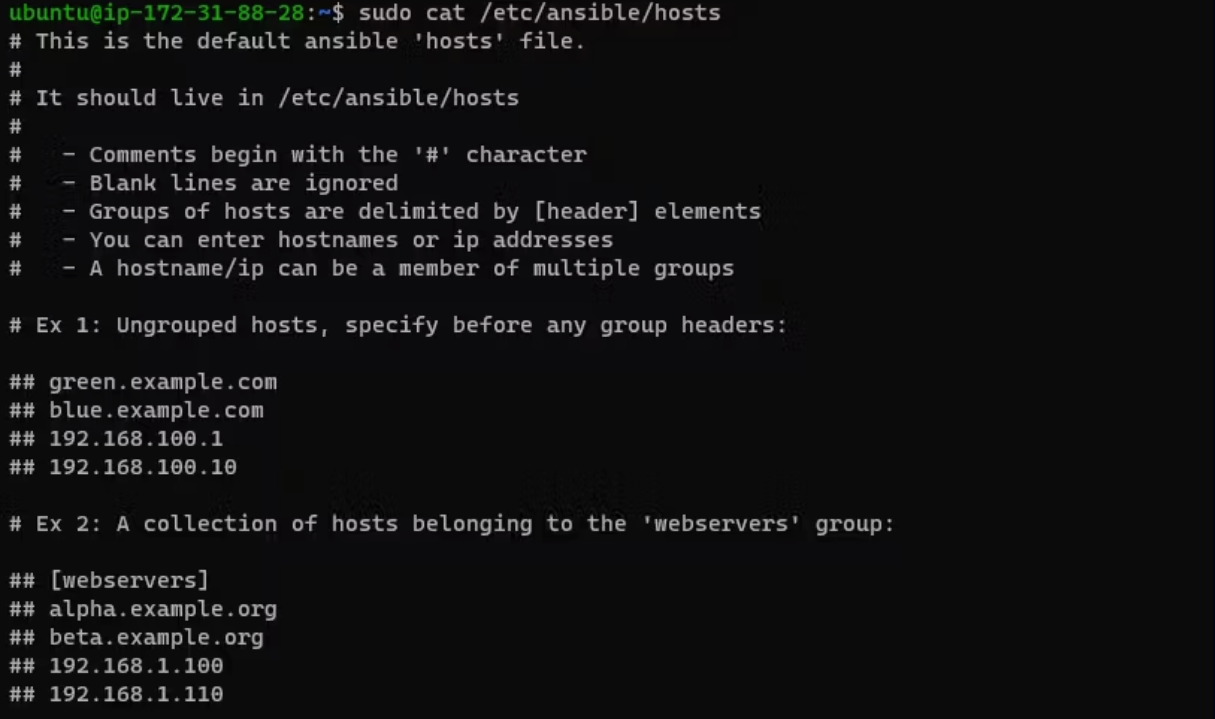
Next, configure the Ansible inventory file to define your hosts. Open the file:
sudo vim /etc/ansible/hosts
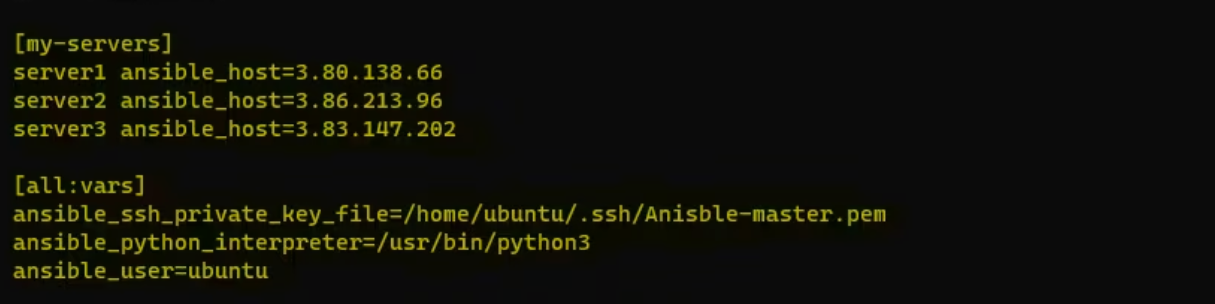
Add your EC2 instances to the inventory:
[my-servers]
server1 ansible_host=<Server1_IPv4>
server2 ansible_host=<Server2_IPv4>
server3 ansible_host=<Server3_IPv4>

[all:vars]
ansible_ssh_private_key_file=/home/ubuntu/.ssh/<pem_key>.pem
ansible_python_interpreter=/usr/bin/python3
ansible_user=ubuntu
Step 5: Create a Playbook to Install Nginx
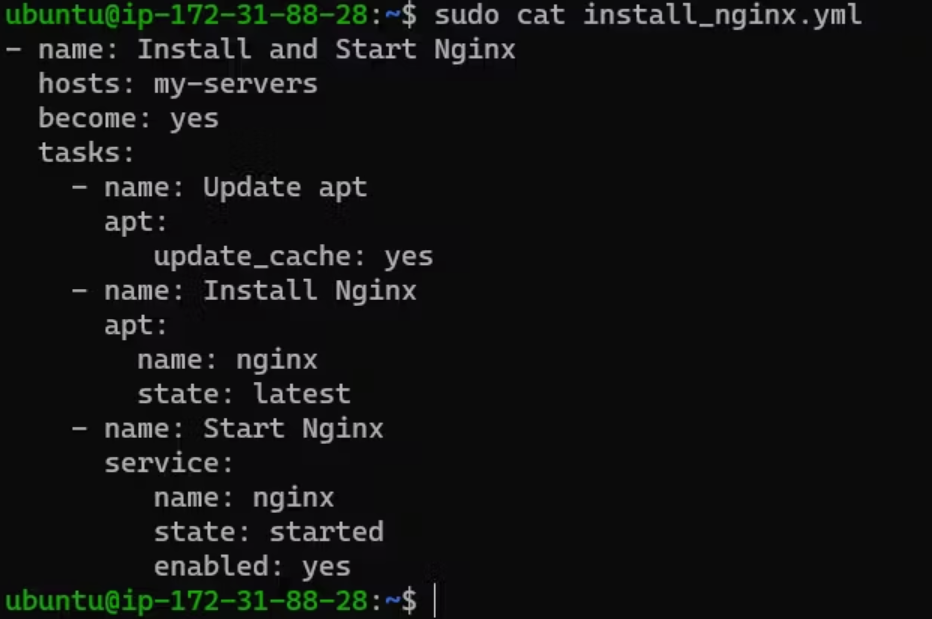
Now, let’s create an Ansible Playbook to install and configure Nginx on all child nodes. Create a playbook file:
sudo vim install_nginx.yml
Add the following content to the file:
- name: Install and Start Nginx
  hosts: my-servers
  become: yes
  tasks:
    - name: Update apt packages
      apt:
        update_cache: yes
    - name: Install Nginx
      apt:
        name: nginx
        state: latest
    - name: Start and enable Nginx service
      service:
        name: nginx
        state: started
        enabled: yes
Step 6: Deploy a Static Website
Next, we’ll deploy a simple webpage to the servers. Create an index.html file with some sample content:
vim index.html
For instance, you can add the following HTML content to the file:
<!DOCTYPE html>
<html>
<head>
    <title>Welcome to Ansible Project</title>
</head>
<body>
    <h1>Welcome to Your Website!</h1>
    <p>This web page is deployed using Ansible.</p>
</body>
</html>
Modify the playbook to include the step for copying this file to the Nginx web server directory:
- name: Install and Start Nginx
  hosts: my-servers
  become: yes
  tasks:
    - name: Update apt packages
      apt:
        update_cache: yes
    - name: Install Nginx
      apt:
        name: nginx
        state: latest
    - name: Start Nginx
      service:
        name: nginx
        state: started
        enabled: yes
    - name: Deploy static website
      copy:
        src: /home/ubuntu/index.html
        dest: /var/www/html/index.html
      become: true
      become_user: root
      become_method: sudo
Step 7: Run the Playbook
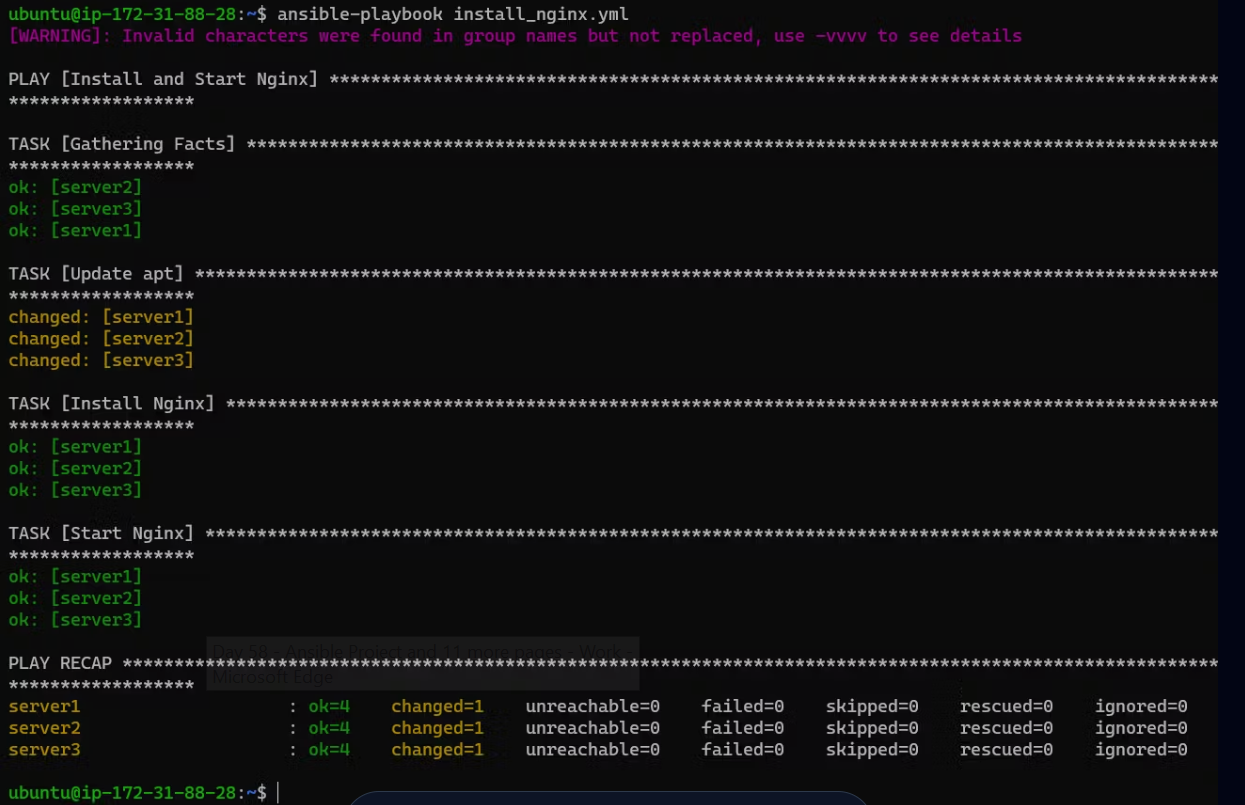
Execute the playbook to deploy Nginx and the static website on all child nodes.
ansible-playbook install_nginx.yml
Step 8: Verify the Deployment
Once the playbook finishes executing, open your browser and enter the public IP address of one of the EC2 instances to view the deployed website.
For example:
http://<Server1_IPv4>
Conclusion
In this Ansible project, we explored how to create and deploy a website using Ansible Playbooks. By automating the process of installing Nginx and deploying a web page on multiple servers, you’ve experienced firsthand how Ansible simplifies configuration management and application deployment.
Ansible empowers DevOps engineers to automate repetitive tasks, allowing for faster deployments and less human error. Keep experimenting with Ansible to further enhance your infrastructure management skills!


